Create Project
Open Android Studio and create a new project.
Looking to create a new Android app project quickly and easily? Check out our recommended article, which provides a step-by-step guide to creating a new Android project in Android Studio.
XML Code
Go to app > resource > layout > activity_main.xml. Add two buttons and give a unique ID for both.
android:id="@+id/firstBtn"
android:id="@+id/secondBtn"
Set the background color of the Button
android:backgroundTint="@color/teal_200"
Set a padding in the Button
android:padding="12dp"
Enable/Disable button
android:enabled="false"
Lowercase/uppercase of button text
android:textAllCaps="false"
Set the text color of the button
android:textColor="@color/black"
Setting icon in android button
app:icon="@drawable/ic_android_black_24dp"
app:iconPadding="8dp"
Here is the final XML code activity_main.xml.
<?xml version="1.0" encoding="utf-8"?>
<androidx.appcompat.widget.LinearLayoutCompat xmlns:android="http://schemas.android.com/apk/res/android"
    xmlns:app="http://schemas.android.com/apk/res-auto"
    xmlns:tools="http://schemas.android.com/tools"
    android:layout_width="match_parent"
    android:layout_height="match_parent"
    android:gravity="center"
    android:orientation="vertical"
    tools:context=".MainActivity">

    <Button
        android:id="@+id/firstBtn"
        android:layout_width="wrap_content"
        android:layout_height="wrap_content"
        android:layout_margin="20dp"
        android:backgroundTint="@color/teal_200"
        android:padding="12dp"
        android:text="NotesJam"
        android:textAllCaps="false"
        android:textColor="@color/black"
        android:textSize="28sp" />

    <Button
        android:id="@+id/secondBtn"
style="@style/Widget.MaterialComponents.Button.TextButton"
        android:layout_width="wrap_content"
        android:layout_height="wrap_content"
        android:enabled="false"
        android:text="NotesJam"
        android:textSize="22sp"
        app:icon="@drawable/ic_android_black_24dp"
        app:iconPadding="8dp" />
</androidx.appcompat.widget.LinearLayoutCompat>
Kotlin Code
Go to app > java > com.example.buttondemo (Maybe different in your case) > MainActivity.kt and put this code outside of onCreate function.
private lateinit var firstBtn: Button
private lateinit var secondBtn: Button
Put this code after setContentView()
firstBtn = findViewById(R.id.firstBtn)
secondBtn = findViewById(R.id.secondBtn)
Setting click event on the button
// android kotlin button onclick listener
firstBtn.setOnClickListener {
    // We are enabling the second button
    secondBtn.isEnabled = true
}
Setting the visibility of the button
// android kotlin button visibility
firstBtn.visibility = View.GONE
firstBtn.visibility = View.VISIBLE
Here is the final Kotlin code MainActivity.kt
package com.example.buttondemo

import androidx.appcompat.app.AppCompatActivity
import android.os.Bundle
import android.view.View
import android.widget.Button

class MainActivity : AppCompatActivity() {
    private lateinit var firstBtn: Button
    private lateinit var secondBtn: Button

    override fun onCreate(savedInstanceState: Bundle?) {
        super.onCreate(savedInstanceState)
        setContentView(R.layout.activity_main)
        firstBtn = findViewById(R.id.firstBtn)
        secondBtn = findViewById(R.id.secondBtn)

        // android kotlin button onclick listener
        firstBtn.setOnClickListener {
            // We are enabling the second button
            secondBtn.isEnabled = true
        }

        // android kotlin button visibility
        firstBtn.visibility = View.GONE
        firstBtn.visibility = View.VISIBLE
    }
}
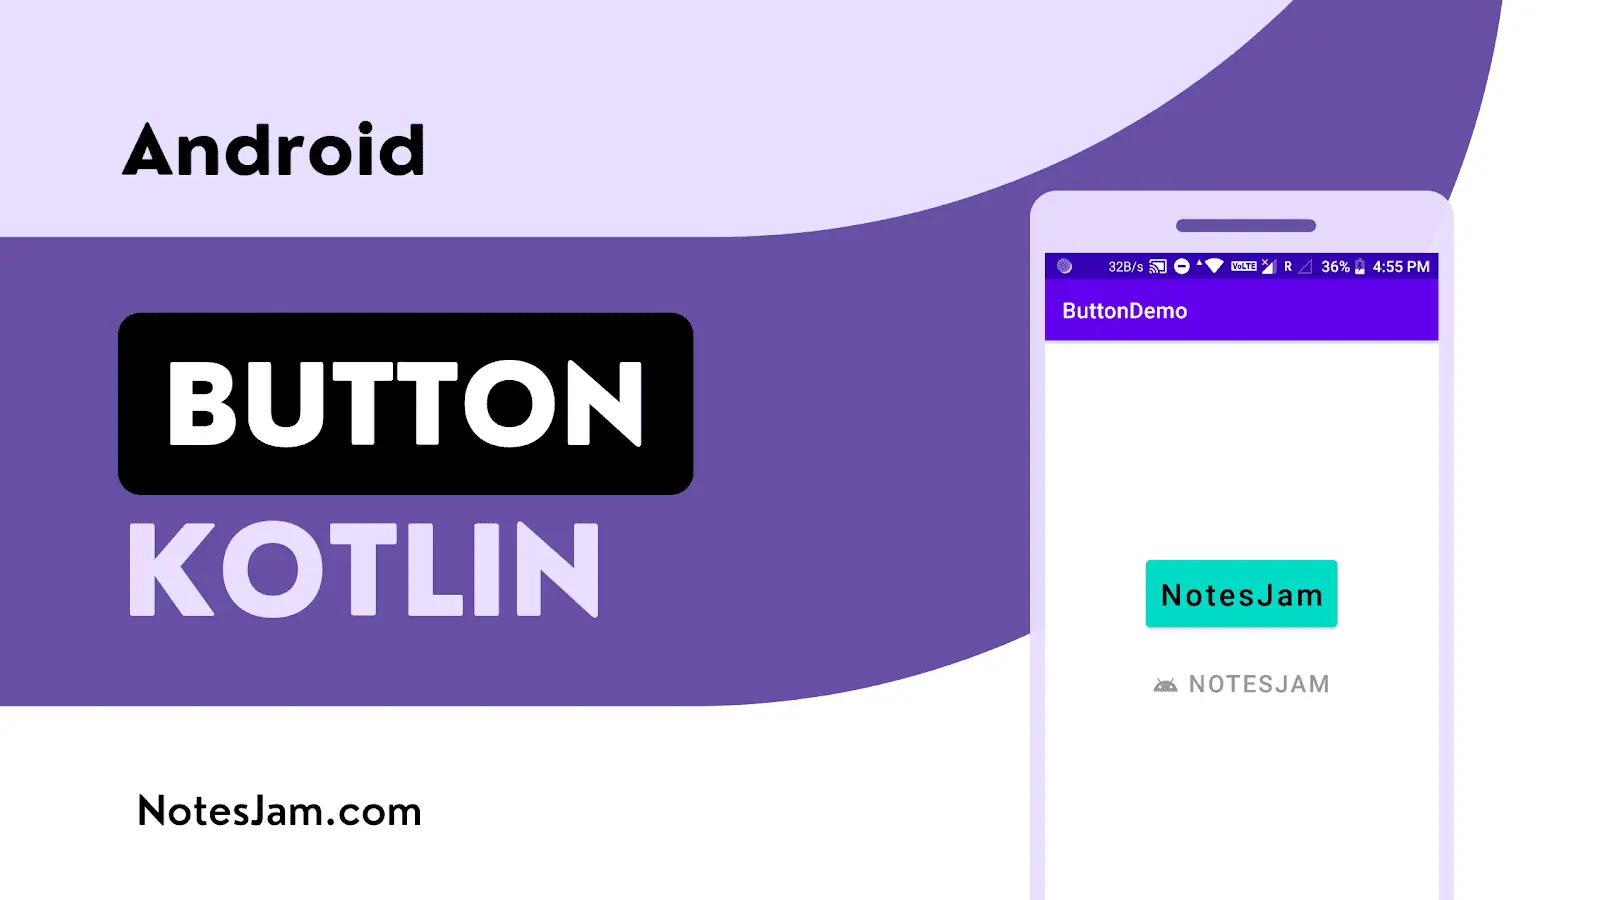
Testing Your App
Here is the final output.
