Material Design has been a popular design language for Android developers, and with the release of Material 3, Google has introduced new guidelines and components to enhance the user experience.
If you currently use Material 2 in your Android Kotlin app, it’s time to migrate to Material 3 to take advantage of its new features.
In this blog, we’ll guide you through the steps required to migrate from Material 2 to Material 3 in Android Kotlin, including updating dependencies and replacing themes, and colors. With this guide, you can provide a modern and accessible user experience for your app users.
Create New Project
Open Android Studio and create a new project. Give the project name Material You.
How to Create a New Project in Android Studio
Update Dependency
The first step in migrating to Material 3 is to update the dependencies in your project. Update the Material Design dependencies in your Gradle file to the latest version:
dependencies {
    implementation 'com.google.android.material:material:1.11.0'
}
Material 2 Layout
Once you have added the Material Design dependency, navigate to app > res > layout > activity_main.xml and paste the following code.
<?xml version="1.0" encoding="utf-8"?%>
<androidx.coordinatorlayout.widget.CoordinatorLayout xmlns:android="http://schemas.android.com/apk/res/android"
    xmlns:tools="http://schemas.android.com/tools"
    android:layout_width="match_parent"
    android:layout_height="match_parent"
    android:orientation="vertical"
    tools:context=".MainActivity">

    <androidx.appcompat.widget.LinearLayoutCompat
        android:layout_width="match_parent"
        android:layout_height="wrap_content"
        android:layout_gravity="center"
        android:layout_margin="8dp"
        android:gravity="center"
        android:orientation="vertical">

        <com.google.android.material.switchmaterial.SwitchMaterial
            android:layout_width="wrap_content"
            android:layout_height="wrap_content"
            android:layout_margin="12dp" />

        <TextView
            android:layout_width="wrap_content"
            android:layout_height="wrap_content"
            android:layout_margin="12dp"
            android:text="NotesJam TextView"
            android:textSize="26sp" />

        <Button
            android:layout_width="wrap_content"
            android:layout_height="wrap_content"
            android:layout_margin="12dp"
            android:text="Button" />

        <com.google.android.material.chip.ChipGroup
            android:layout_width="wrap_content"
            android:layout_height="wrap_content"
            android:layout_gravity="center"
            android:layout_margin="12dp">

            <com.google.android.material.chip.Chip
                style="@style/Widget.MaterialComponents.Chip.Filter"
                android:layout_width="wrap_content"
                android:layout_height="wrap_content"
                android:checked="true"
                android:text="Filter" />

            <com.google.android.material.chip.Chip
                style="@style/Widget.MaterialComponents.Chip.Action"
                android:layout_width="wrap_content"
                android:layout_height="wrap_content"
                android:text="Action" />
        </com.google.android.material.chip.ChipGroup>
    </androidx.appcompat.widget.LinearLayoutCompat>
  <com.google.android.material.floatingactionbutton.FloatingActionButton
        android:layout_width="wrap_content"
        android:layout_height="wrap_content"
        android:layout_gravity="bottom|end"
        android:layout_margin="16dp"
        android:contentDescription="Add"
        android:src="@drawable/baseline_add_24" />
</androidx.coordinatorlayout.widget.CoordinatorLayout>
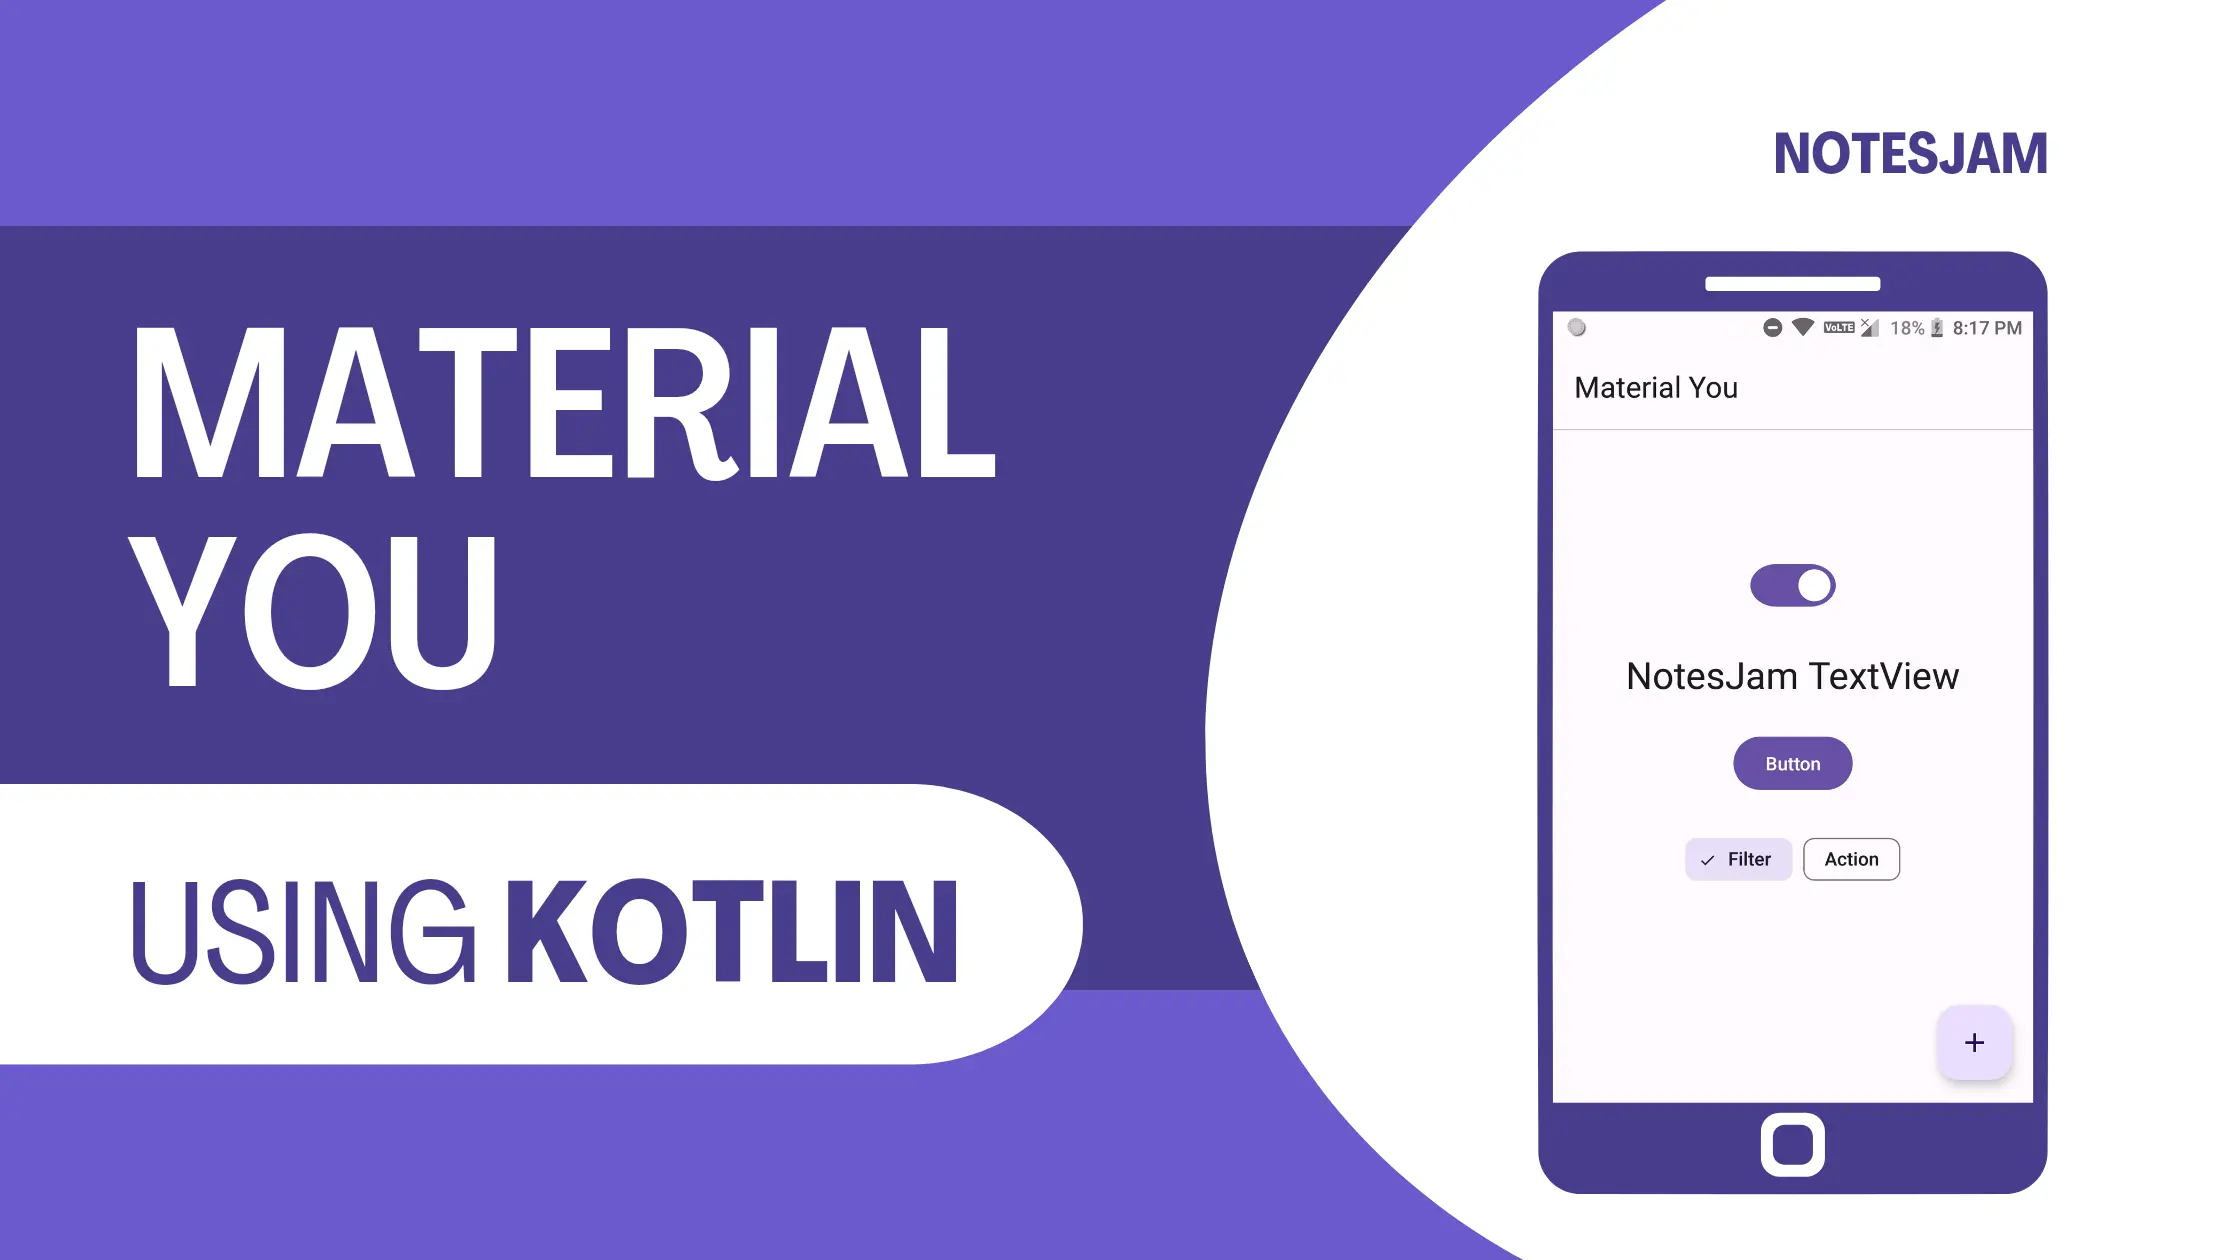
In the code above, we have created a Switch, TextView, Button, Chips, and FloatingActionButton following the Material Design 2 guidelines. In the next step, we will update this layout to conform with Material Design 3.
Material 3 Layout
Material 3 introduces new theme attributes for customizing the appearance of components. Replace the old theme attributes with the new ones in your themes.xml file.
Update Theme
Firstly, visit the Material Theme Builder website. In the top-right corner, select the Export button, and then click on Android Views (XML). Download the Material theme.
Now unzip the downloaded theme and copy the code of colors.xml. Then, navigate to app > res > values > colors.xml in your project and paste the code. Similarly, copy the themes.xml code for both light and dark themes and paste them appropriately into your project.
Update layout file
Once you have updated the themes and colors, it’s time to modify the layout file. Navigate to app > res > layout > activity_main.xml again and replace the existing code with the following XML code.
<?xml version="1.0" encoding="utf-8"?>
<androidx.coordinatorlayout.widget.CoordinatorLayout xmlns:android="http://schemas.android.com/apk/res/android"
    xmlns:app="http://schemas.android.com/apk/res-auto"
    xmlns:tools="http://schemas.android.com/tools"
    android:layout_width="match_parent"
    android:layout_height="match_parent"
    android:orientation="vertical"
    tools:context=".MainActivity">

    <com.google.android.material.appbar.AppBarLayout
        android:layout_width="match_parent"
        android:layout_height="wrap_content">

        <com.google.android.material.appbar.MaterialToolbar
            android:layout_width="match_parent"
            android:layout_height="wrap_content"
            app:title="@string/app_name" />

        <com.google.android.material.divider.MaterialDivider
            android:layout_width="match_parent"
            android:layout_height="wrap_content" />
    </com.google.android.material.appbar.AppBarLayout>

    <androidx.appcompat.widget.LinearLayoutCompat
        android:layout_width="match_parent"
        android:layout_height="wrap_content"
        android:layout_gravity="center"
        android:layout_margin="8dp"
        android:gravity="center"
        android:orientation="vertical">
        <com.google.android.material.switchmaterial.SwitchMaterial
            style="@style/Widget.Material3.CompoundButton.MaterialSwitch"
            android:layout_width="wrap_content"
            android:layout_height="wrap_content"
            android:layout_margin="12dp" />

        <TextView
            android:layout_width="wrap_content"
            android:layout_height="wrap_content"
            android:layout_margin="12dp"
            android:text="NotesJam TextView"
            android:textAppearance="?attr/textAppearanceHeadlineMedium" />

        <Button
            android:layout_width="wrap_content"
            android:layout_height="wrap_content"
            android:layout_margin="12dp"
            android:text="Button" />

        <com.google.android.material.chip.ChipGroup
            android:layout_width="wrap_content"
            android:layout_height="wrap_content"
            android:layout_gravity="center"
            android:layout_margin="12dp">

            <com.google.android.material.chip.Chip
                style="@style/Widget.Material3.Chip.Filter"
                android:layout_width="wrap_content"
                android:layout_height="wrap_content"
                android:checked="true"
                android:text="Filter" />

            <com.google.android.material.chip.Chip
                style="@style/Widget.Material3.Chip.Assist"
                android:layout_width="wrap_content"
                android:layout_height="wrap_content"
                android:text="Action" />
        </com.google.android.material.chip.ChipGroup>
    </androidx.appcompat.widget.LinearLayoutCompat>

    <com.google.android.material.floatingactionbutton.FloatingActionButton
        android:layout_width="wrap_content"
        android:layout_height="wrap_content"
        android:layout_gravity="bottom|end"
        android:layout_margin="16dp"
        android:contentDescription="Add"
        android:src="@drawable/baseline_add_24" />
</androidx.coordinatorlayout.widget.CoordinatorLayout>
In the code above, the layout file follows the Material Design 3 guidelines. Now, navigate to AndroidManifest.xml and replace the old theme with the new one in the application tag, as shown below.
android:theme="@style/AppTheme"
That’s it. All necessary steps completed. Just click on the Run button and see the output.
Testing Your App
Here is the final output. Launch the app and compare it with the previous one.

Migrating from Material 2 to Material 3 in Android Kotlin requires updating dependencies, and replacing colors, and themes. By following these steps, you can ensure that your app provides a modern and accessible user experience.
I hope this article helps you understand how to migrate from Material Design 2 to Material Design 3 in Android.
So, go ahead and try it out today!
