In Android, it’s a common requirement to allow users to select an image from the gallery. This can be used for profile pictures, cover photos, and other use cases where users need to select an image.
In this tutorial, we’ll show you how to pick an image from the gallery in Android using Kotlin. We’ll cover the steps involved in creating an intent for picking an image, handling the result, and performing actions with the selected image.
To pick an image from the gallery in Android using Kotlin, you can use the following steps.
First, create an image picker intent for selecting an image from the gallery:
val pickImg = Intent(Intent.ACTION_PICK, MediaStore.Images.Media.INTERNAL_CONTENT_URI)
changeImage.launch(pickImg)
Second, create a registerForActivityResult method to handle the result of the image picker intent:
private val changeImage = registerForActivityResult( ActivityResultContracts.StartActivityForResult() ) {
    if (it.resultCode == Activity.RESULT_OK) {
    val data = it.data
    val imgUri = data?.data
    selectedImage.setImageURI(imgUri)
    }
}
The imgUri variable will contain the URI of the selected image. You can use this URI to load the image into an ImageView or perform other actions with it. Here we are showing the picked image in ImageView.
Create Project
Open Android Studio and create a new project. Give the project name PickImage.
How to Create a New Project in Android Studio
Adding storage permission
Add the storage permission in the AndroidManifest.xml file. Paste the following code above the application tag.
<uses-permission android:name="android.permission.READ_EXTERNAL_STORAGE"/>
XML Code
Go to app > resource > layout > activity_main.xml. Create an ImageView and a FloatingActionButton under CoordinatorLayout. By clicking FAB, we will pick an image. After selecting an image, ImageView will show the image.
Here is the final XML code of activity_main.xml.
<?xml version="1.0" encoding="utf-8"?> <androidx.coordinatorlayout.widget.CoordinatorLayout
    xmlns:android="http://schemas.android.com/apk/res/android"
    xmlns:tools="http://schemas.android.com/tools"
    android:layout_width="match_parent"
    android:layout_height="match_parent"
    tools:context=".MainActivity">

    <androidx.appcompat.widget.AppCompatImageView
        android:id="@+id/selected_image"
        android:layout_width="match_parent"
        android:layout_height="wrap_content"
        android:layout_margin="16dp"
        android:adjustViewBounds="true" />

<com.google.android.material.floatingactionbutton.FloatingActionButton
        android:id="@+id/pick_image"
        android:layout_width="wrap_content"
        android:layout_height="wrap_content"
        android:layout_gravity="bottom|end"
        android:layout_margin="16dp"
        android:contentDescription="@string/pick_image"
        android:src="@drawable/round_add_photo_alternate_24" />
</androidx.coordinatorlayout.widget.CoordinatorLayout>
Kotlin Code
Go to app > java > com.example.pickimage > MainActivity.kt and paste the image picker intent in the fab click listener block. Create registerForActivityResult method. Here is the final Kotlin code of MainActivity.kt
package com.example.pickimage

import android.app.Activity ]
import android.content.Intent
import androidx.appcompat.app.AppCompatActivity
import android.os.Bundle
import android.provider.MediaStore
import androidx.activity.result.contract.ActivityResultContracts
import androidx.appcompat.widget.AppCompatImageView
import com.google.android.material.floatingactionbutton.FloatingActionButton

class MainActivity : AppCompatActivity() {
    private lateinit var pickImage: FloatingActionButton
    private lateinit var selectedImage: AppCompatImageView

    override fun onCreate(savedInstanceState: Bundle?) {
        super.onCreate(savedInstanceState)
        setContentView(R.layout.activity_main)

        pickImage = findViewById(R.id.pick_image)
        selectedImage = findViewById(R.id.selected_image)

        pickImage.setOnClickListener {
            val pickImg = Intent(Intent.ACTION_PICK,
            MediaStore.Images.Media.INTERNAL_CONTENT_URI)
            changeImage.launch(pickImg)
        }

        private val changeImage = registerForActivityResult( ActivityResultContracts.StartActivityForResult()) {
            if (it.resultCode == Activity.RESULT_OK) {
            val data = it.data
            val imgUri = data?.data
            selectedImage.setImageURI(imgUri)
        }
    }
}
Testing Your App
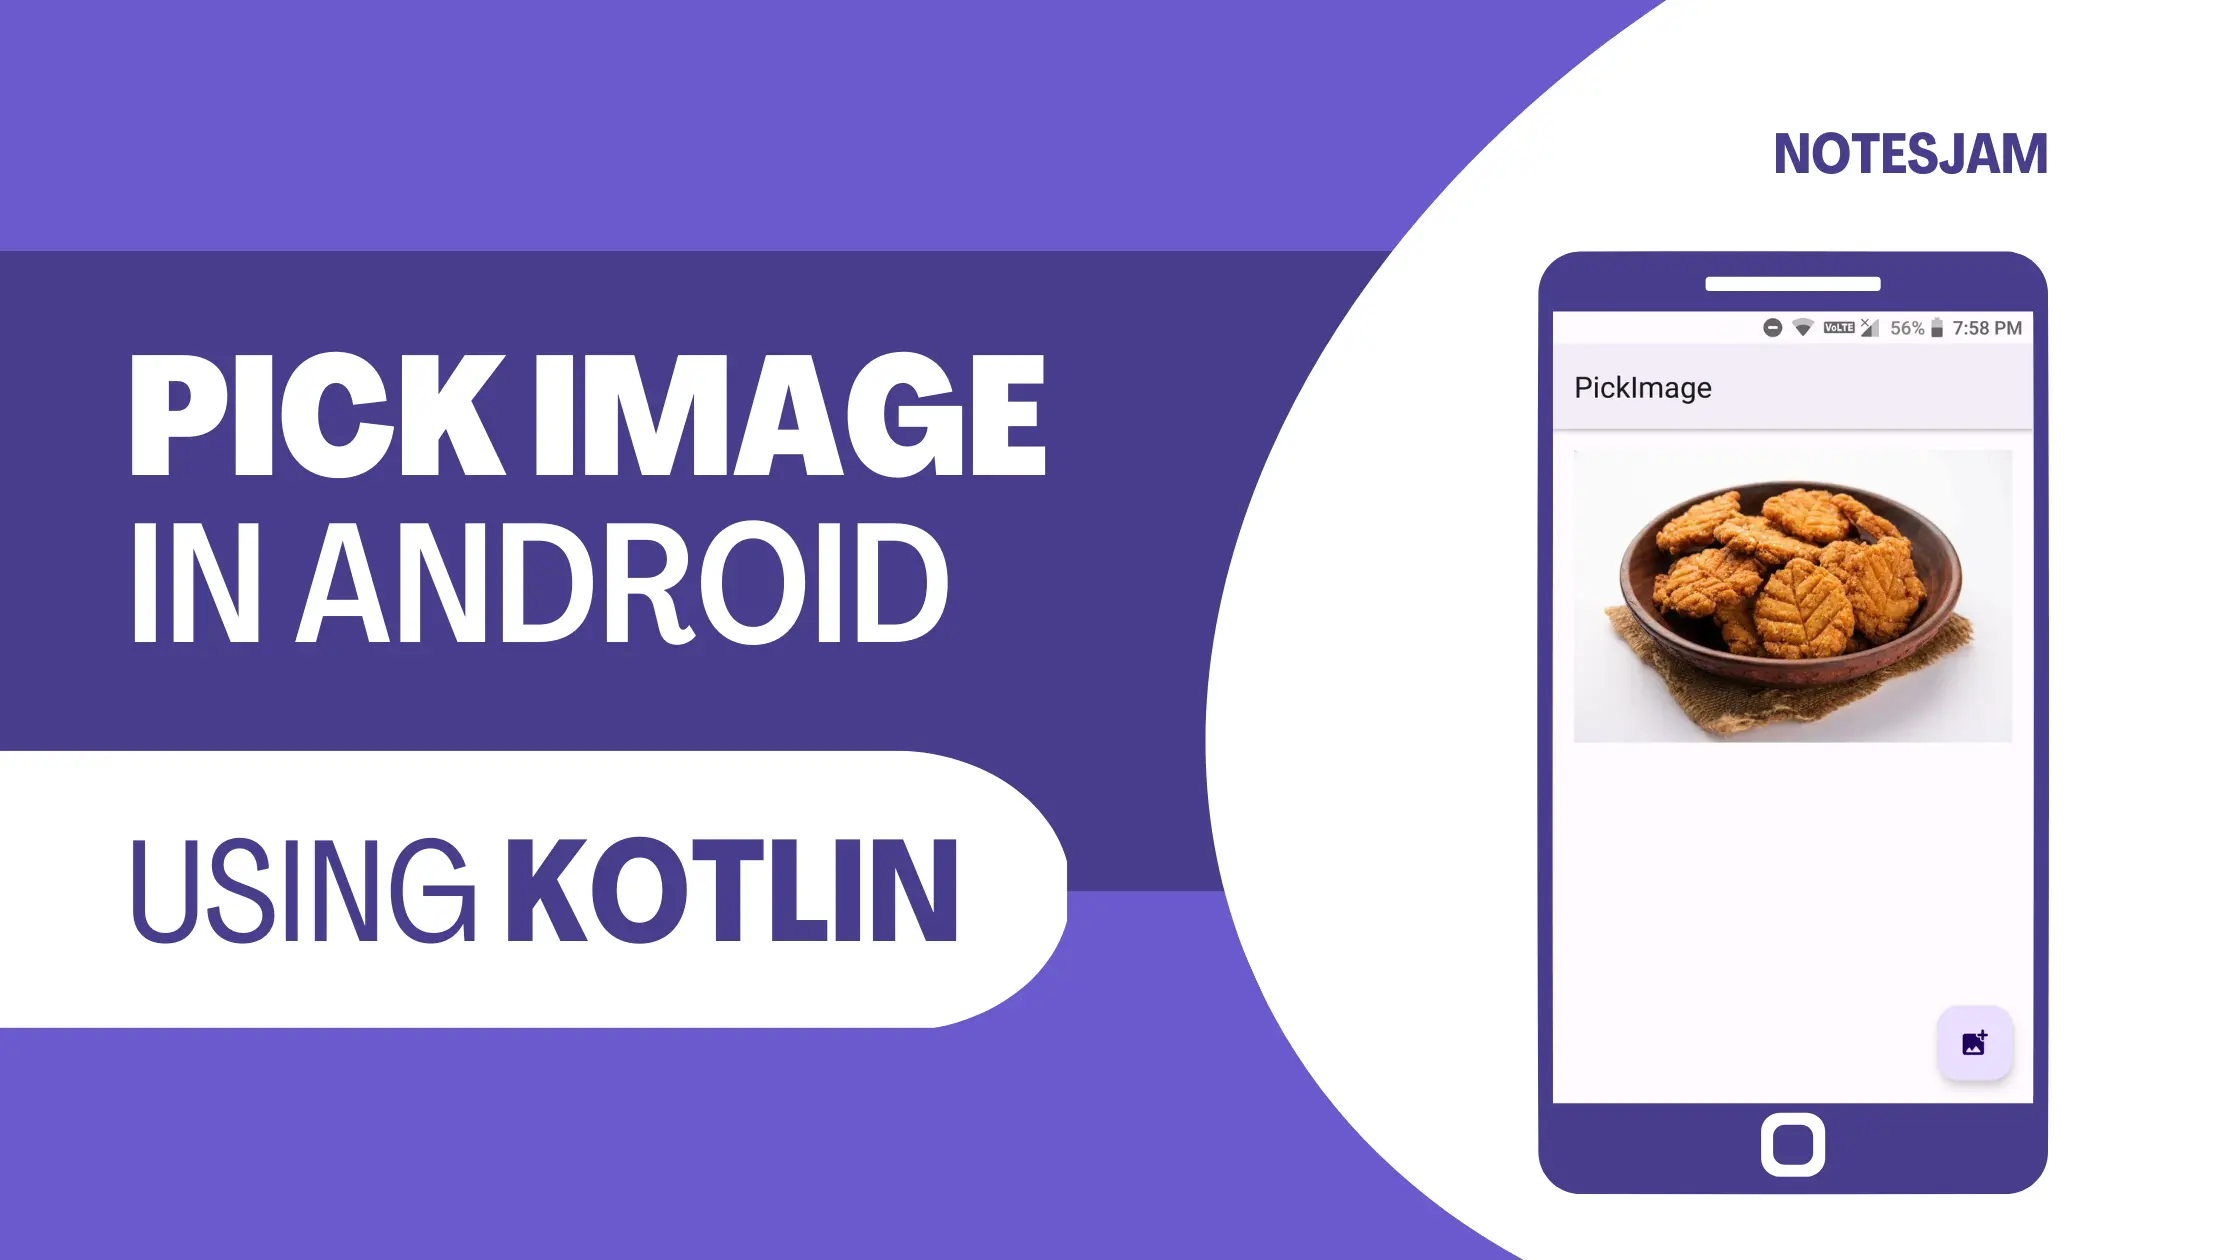
Here is the final output. Launch the app. Click on FAB and pick an image. Your picked image should be visible in ImageView.

In conclusion, picking an image from the gallery in Android is a straightforward process that can be accomplished with just a few lines of code.
By using the steps outlined in this tutorial, you can easily add this functionality to your Android app and provide a seamless experience for your users.
So, go ahead and try it out today!
