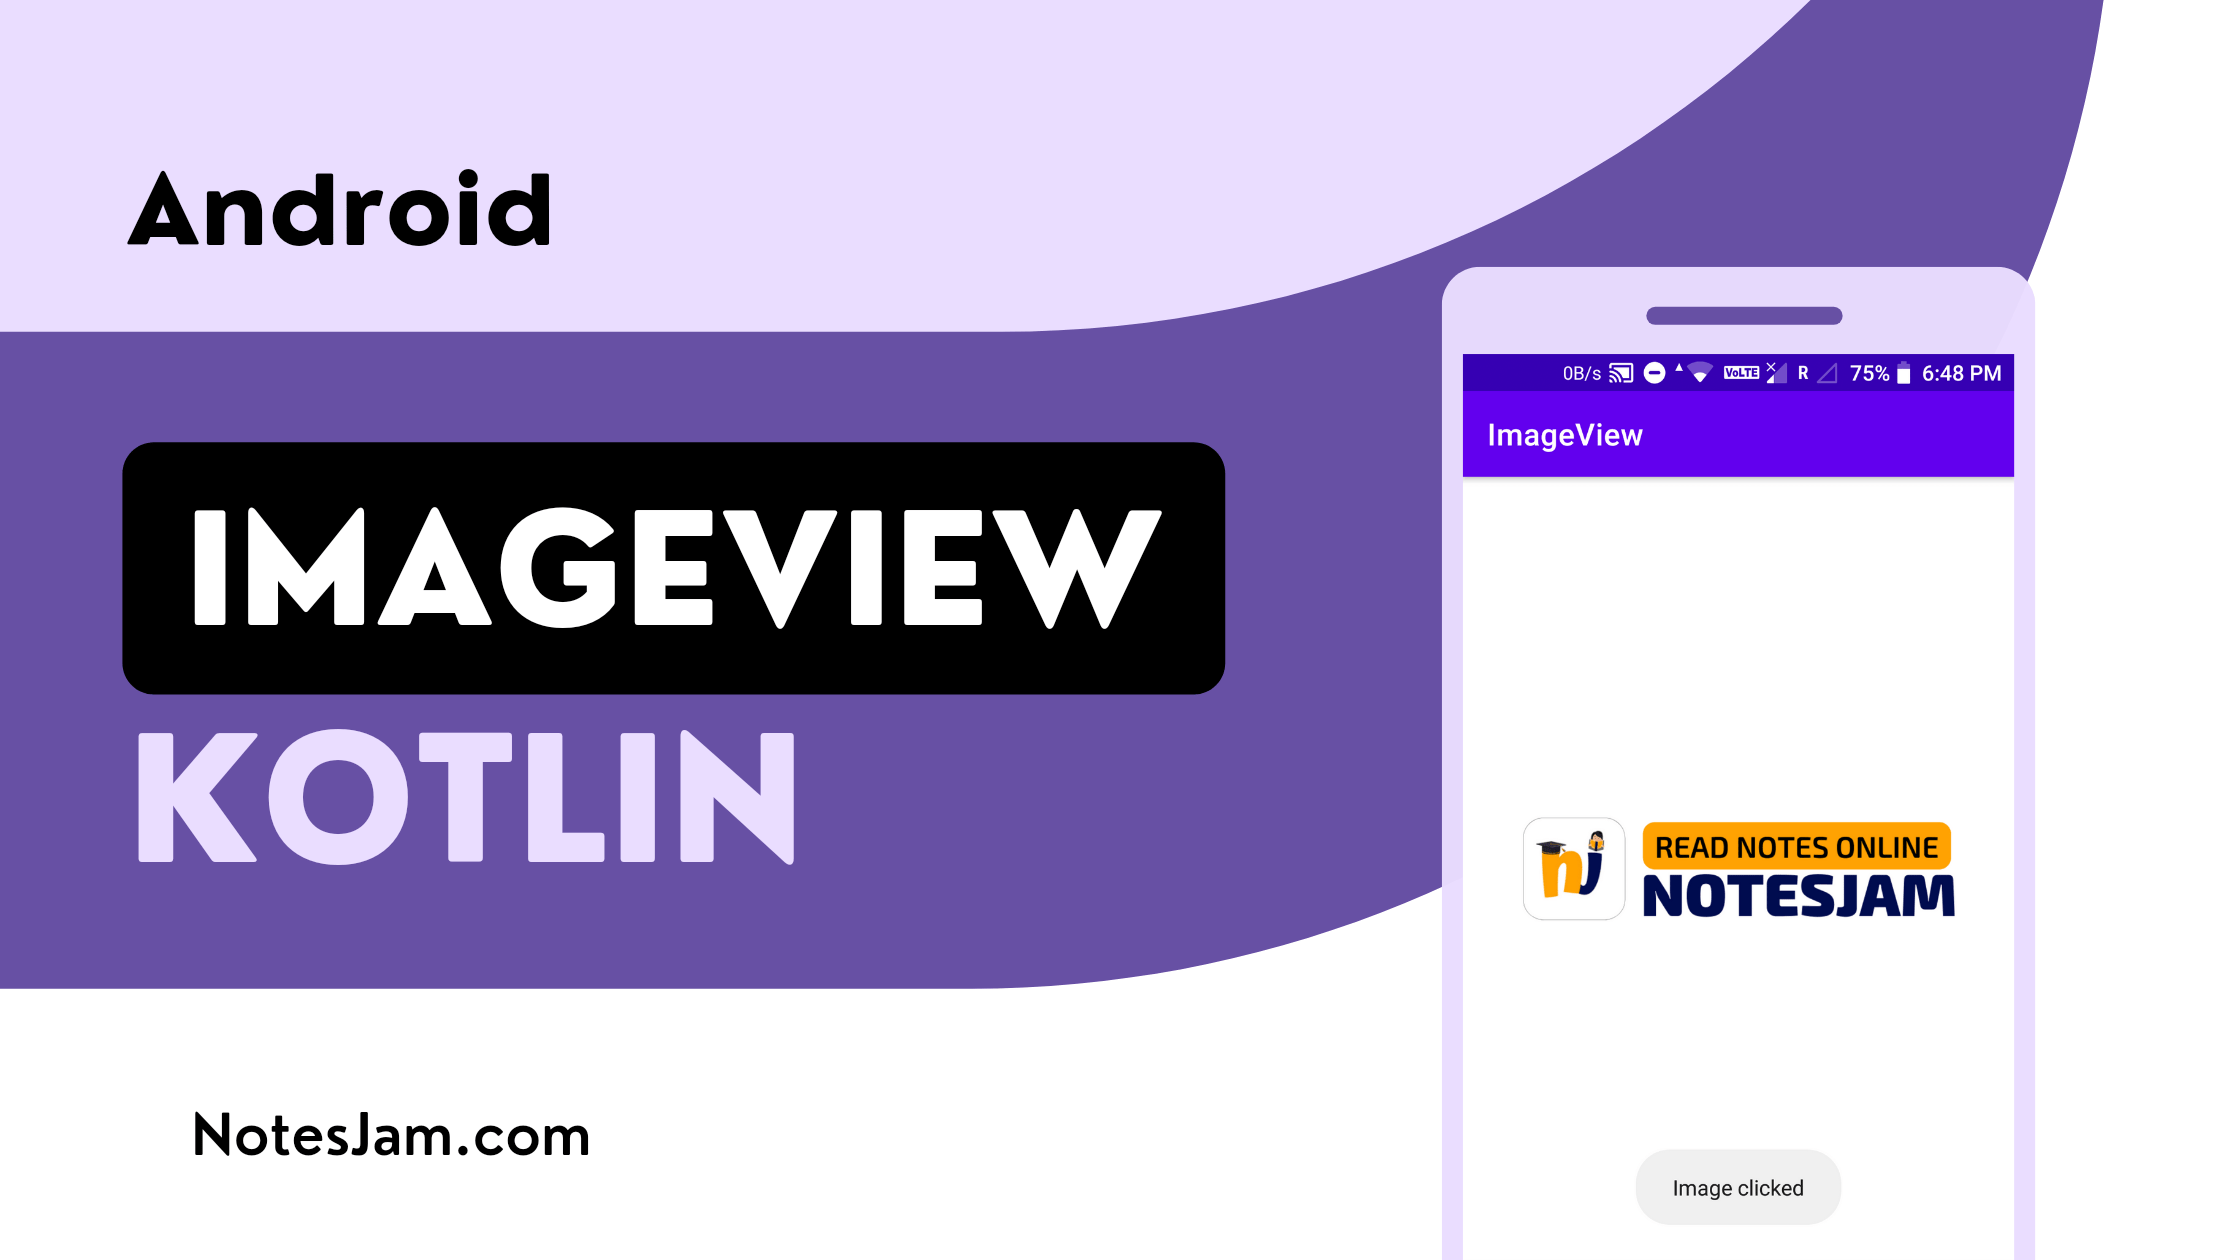
ImageView is an essential component of any Android app that deals with displaying images. It provides an easy way to load and display images in the user interface of the app.
In this tutorial, we will learn how to use the ImageView component in Android using Kotlin.
We will cover the basic steps to create an ImageView, add an image to it, and load the image into the ImageView.
The tutorial is designed for beginners who have a basic understanding of Kotlin and Android Studio.
Create Project
Open Android Studio and create a new project. Choose the project location and give the project name ImageView. Choose the minimum SDK, language, and activity. Click on the Finish button.
How to Create a New Project in Android Studio
Adding an image in drawable XML
First of all, find the image in your machine. Copy the image. Open Android Studio, go to app > res > drawable, and paste your copied image.
You have inserted the picture in the drawable successfully. Now you can use the image in your project.
If you want to add a vector drawable to your Android project, follow the steps below.
Right-click on the drawable folder in the project explorer and select New > Vector Asset. Choose the asset type (e.g. Clip Art, Local File, or Material Icon).
Browse and select the image file or choose an icon from the Material Icons library. Set the name of the vector drawable file and click on the Next button. Set the properties of the vector drawable such as width, height, and color.
Add an ImageView to the layout file
Go to app > resource > layout > activity_main.xml. Add an image view. Now set the image in image view using the following XML attribute.
android:src="@drawable/notesjam"
If your image width is greater than the device width, you should use the following attribute to fix the problem.
android:adjustViewBounds="true"
Here is the final XML code. You can copy the following code and paste it into your activity_main.xml file.
<?xml version="1.0" encoding="utf-8"?>
<androidx.appcompat.widget.LinearLayoutCompat xmlns:android="http://schemas.android.com/apk/res/android"
    xmlns:tools="http://schemas.android.com/tools"
    android:layout_width="match_parent"
    android:layout_height="match_parent"
    android:gravity="center"
    tools:context=".MainActivity">

    <ImageView
        android:id="@+id/logoImg"
        android:layout_width="match_parent"
        android:layout_height="wrap_content"
        android:layout_margin="28dp"
        android:adjustViewBounds="true"
        android:contentDescription="@string/logo"
        android:src="@drawable/notesjam" />
</androidx.appcompat.widget.LinearLayoutCompat>
Load the image into the ImageView
For loading the image into the image view first, get a reference to the ImageView using the findViewById() method. Then load the image into the ImageView using the setImageResource() method.
For setting images in image view programmatically using Kotlin, we are using the following code.
// Set image in imageview programmatically
logoImg.setImageResource(R.drawable.notesjam)
If you want to add a click listener to an ImageView, you can use the setOnClickListener() method.
In the following example, we are adding a click listener to an ImageView with the ID “logoImg” and displaying a toast message “Image clicked” when the ImageView is clicked.
// on click listener on imageview
logoImg.setOnClickListener {
    Toast.makeText(this, "Image clicked", Toast.LENGTH_LONG).show()
}
Here is the final Kotlin code MainActivity.kt
Go to app > java > com.example.imageview > MainActivity.kt and put the following code after initializing image view.
package com.example.imageview

import androidx.appcompat.app.AppCompatActivity
import android.os.Bundle
import android.widget.ImageView
import android.widget.Toast

class MainActivity : AppCompatActivity() {
    private lateinit var logoImg: ImageView

    override fun onCreate(savedInstanceState: Bundle?) {
        super.onCreate(savedInstanceState)
        setContentView(R.layout.activity_main)
        logoImg = findViewById(R.id.logoImg)

        // on click listener on imageview
        logoImg.setOnClickListener {
            Toast.makeText(this, "Image clicked", Toast.LENGTH_LONG).show()
        }

        // Set image in imageview programmatically
        logoImg.setImageResource(R.drawable.notesjam)
    }
}
Testing Your App
To test the application, we need to run it on an Android device or emulator. Once the app is launched, if we click on the ImageView with the ID logoImg, a toast message should be displayed. Here is the final output.

ImageView is a simple yet powerful component in Android that enables developers to display images in their apps.
With the help of Kotlin, we can easily load images into an ImageView and customize the ImageView to fit the needs of our app.
In this tutorial, we covered the basic steps to create an ImageView, add an image to it, and load the image into the ImageView.
We hope that this tutorial has provided you with a good understanding of how to use the ImageView component in Android using Kotlin.
So, go ahead and try it out today!
