In the realm of Android app development, efficient image loading and caching play a crucial role in providing a seamless user experience. Among the myriad of image-loading libraries available, Glide stands out as a powerful and flexible solution.
In this blog post, we’ll delve into the basic and advanced features of Glide, a popular image-loading library for Android, using Kotlin. We’ll explore its capabilities with real-world examples to showcase its versatility.
Table of Content
What is Glide?
Glide is an open-source image-loading library for Android that simplifies loading and caching images. Developed by Bumptech, Glide is widely adopted in the Android community due to its performance, ease of use, and extensive feature set.
Integrating Glide into Your Project
To get started with Glide in your Android project, add the following dependency to your app’s build.gradle file:
implementation 'com.github.bumptech.glide:glide:4.16.0'
annotationProcessor 'com.github.bumptech.glide:compiler:4.16.0'
Make sure to check for the latest version on Glide’s GitHub page
Basic Features of Glide
Loading an Image
Glide simplifies loading images from various sources, such as URLs, local files, or resources. Here’s a basic example:
Glide.with(context)
    .load("https://example.com/image.jpg")
    .into(imageView)
This snippet uses Glide to load an image from a URL into an ImageView.
Image Resizing and Scaling
Glide provides options for resizing and scaling images to fit specific dimensions. This is beneficial for optimizing memory usage and loading times. For instance:
Glide.with(context)
    .load("https://example.com/image.jpg")
    .override(300, 200)
    .into(imageView)
In this example, the override() method resizes the image to a specified width and height.
Placeholder and Error Handling
Glide allows you to set placeholders and handle errors gracefully. This ensures a better user experience, especially when dealing with slow network connections or missing images:
Glide.with(context)
    .load("https://example.com/image.jpg")
    .placeholder(R.drawable.placeholder)
    .error(R.drawable.error_image)
    .into(imageView)
Here, the placeholder() sets an image to be displayed while the requested image is being loaded, and the error() sets an image to be displayed in case of an error.
Advanced Features of Glide
Caching Strategies
Glide offers various caching strategies to optimize the loading of images. The three main strategies are:
Memory Cache
Keeps a resized version of the image in memory to reduce loading times.
Glide.with(context)
    .load("https://example.com/image.jpg")
    .skipMemoryCache(true) // Disable memory caching
    .into(imageView)
Disk Cache
Stores images on the device’s disk for faster retrieval.
Glide.with(context)
    .load("https://example.com/image.jpg")
    .diskCacheStrategy(DiskCacheStrategy.NONE) // Disable disk caching
    .into(imageView)
Transformations
Glide supports image transformations, allowing you to manipulate images before displaying them. Common transformations include:
Glide.with(context)
    .load("https://example.com/image.jpg")
    .circleCrop() // Crop the image into a circle
    .into(imageView)
In this example, circleCrop() transforms the image into a circular shape.
Loading GIFs and Videos
Glide extends its capabilities beyond static images. It supports loading GIFs and video thumbnails effortlessly:
Glide.with(context)
    .asGif()
    .load("https://example.com/animation.gif")
    .into(imageView)
Here, asGif() informs Glide that the resource is a GIF.
Implementing Glide in Android
Let’s apply what we’ve learned in a real-world scenario. Consider a scenario where you need to load an image URL in an ImageView. Here’s how you can efficiently use Glide for this:
package com.example.glidedemo

import androidx.appcompat.app.AppCompatActivity
import android.os.Bundle
import androidx.appcompat.widget.AppCompatImageView
import com.bumptech.glide.Glide

class MainActivity : AppCompatActivity() {
    private lateinit var imageView: AppCompatImageView
    override fun onCreate(savedInstanceState: Bundle?) {
        super.onCreate(savedInstanceState)
        setContentView(R.layout.activity_main)

        // Initialize the ImageView
        imageView = findViewById(R.id.image_view)

        // URL of the image to be loaded
        val imageUrl =
            "https://cdn.pixabay.com/photo/2023/11/19/01/05/ai-generated-8397529_1280.jpg"

        // Load the image using Glide with circleCrop transformation, placeholder, and error handling
        Glide.with(this)
            .load(imageUrl)
            .circleCrop() // Apply circleCrop transformation
            .placeholder(R.drawable.ic_launcher_background) // Placeholder image while loading
            .error(R.drawable.ic_launcher_foreground) // Image to display in case of an error
            .into(imageView)
    }
}
To complete the example, you’ll need an XML layout file for your MainActivity. Here’s an example activity_main.xml layout file that includes an ImageView:
<?xml version="1.0" encoding="utf-8"?>
<androidx.constraintlayout.widget.ConstraintLayout xmlns:android="http://schemas.android.com/apk/res/android"
    xmlns:app="http://schemas.android.com/apk/res-auto"
    xmlns:tools="http://schemas.android.com/tools"
    android:layout_width="match_parent"
    android:layout_height="match_parent"
    tools:context=".MainActivity">

    <com.google.android.material.appbar.MaterialToolbar
        android:id="@+id/toolbar"
        android:layout_width="match_parent"
        android:layout_height="wrap_content"
        app:layout_constraintTop_toTopOf="parent"
        app:title="Glide Example" />

    <com.google.android.material.divider.MaterialDivider
        android:id="@+id/divider"
        android:layout_width="match_parent"
        android:layout_height="wrap_content"
        app:layout_constraintTop_toBottomOf="@id/toolbar" />

    <androidx.appcompat.widget.AppCompatImageView
        android:id="@+id/image_view"
        android:layout_width="match_parent"
        android:layout_height="wrap_content"
        android:layout_margin="24dp"
        android:adjustViewBounds="true"
        android:src="@drawable/ic_launcher_background"
        app:layout_constraintBottom_toBottomOf="parent"
        app:layout_constraintEnd_toEndOf="parent"
        app:layout_constraintStart_toStartOf="parent"
        app:layout_constraintTop_toBottomOf="@id/divider" />
</androidx.constraintlayout.widget.ConstraintLayout>
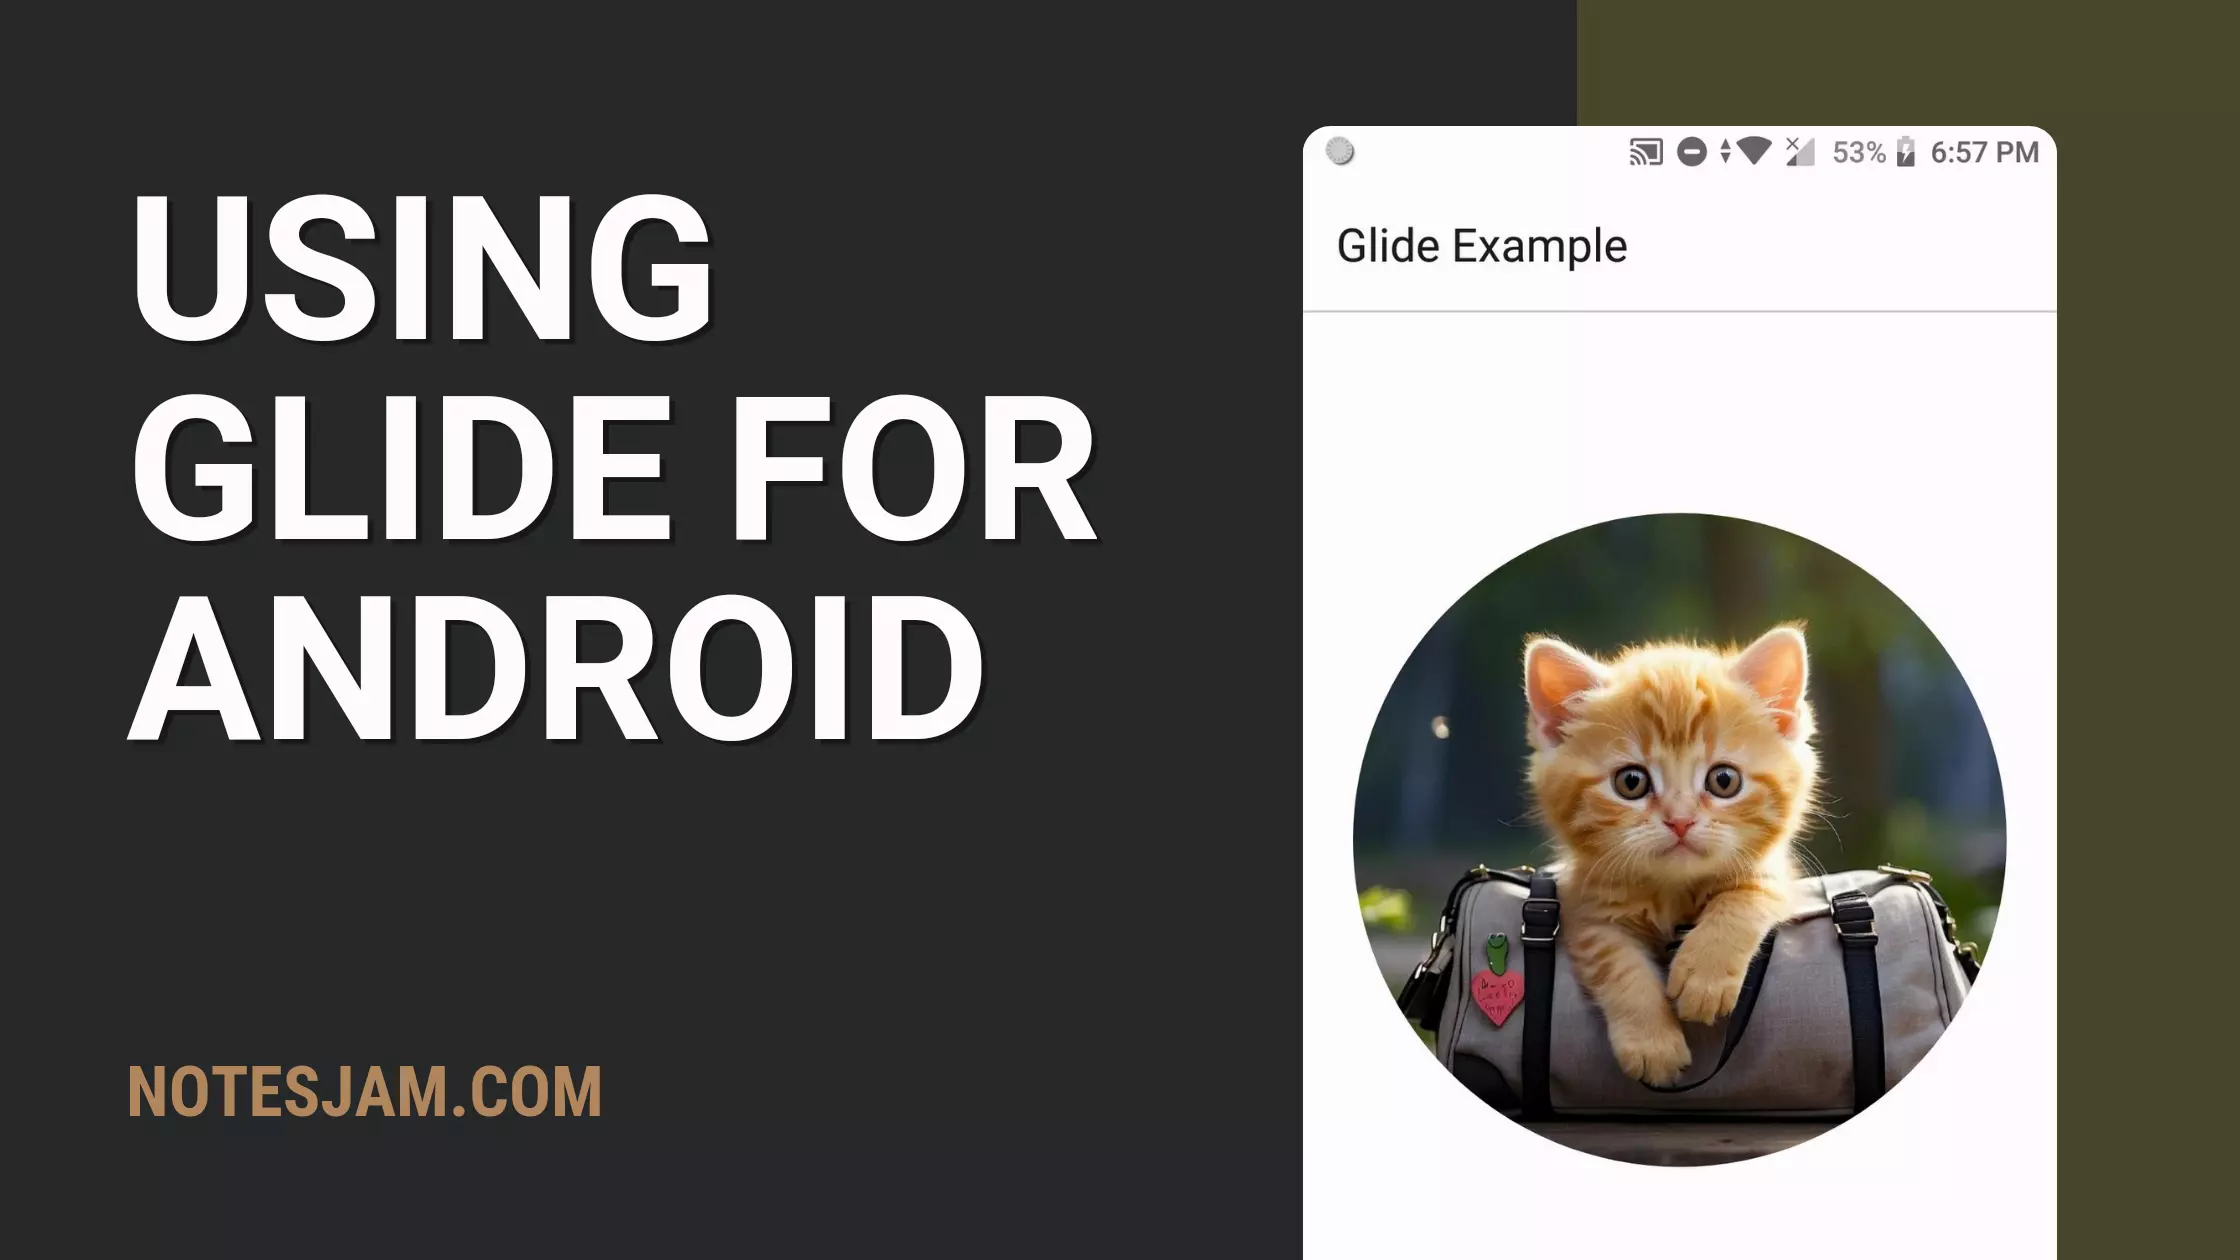
Testing Your App
Here is the final output. Launch the app. Make sure you have an internet connection.

Glide is a powerful and versatile image-loading library for Android app development. From basic image loading to advanced features like caching strategies, transformations, and support for GIFs and videos, Glide simplifies the complexities of handling images.
By incorporating Glide into your projects, you can enhance the user experience and ensure optimal performance when dealing with image loading in your Android applications.
I hope this article helps you understand how to use Glide Library in Android using Kotlin.
So, go ahead and try it out today!