RecyclerView is a powerful and flexible UI component in the Android framework that is used to display a list of items in a scrollable view. It is a more advanced and flexible version of the ListView, which is one of the most basic UI components in Android.
In this article, we will learn about the RecyclerView in Android using Kotlin programming language and we will create a simple example to demonstrate its usage.
Table of Content
What is RecyclerView?
RecyclerView is a widget that is used to display a collection of items in a list format. It is a powerful tool that can be used to display a large number of items in an efficient and easy-to-use manner.
The main advantage of using RecyclerView is that it can recycle the views used to display the items in the list, making it more efficient and less memory-intensive.
Implementing RecyclerView
Open Android Studio and create a new project. Give the project name RecyclerViewDemo.
How to Create a New Project in Android Studio
To use RecyclerView in an Android project, you need to add the RecyclerView to your layout XML file. Go to app > resource > layout > activity_main.xml. Paste the following code.
<?xml version="1.0" encoding="utf-8"?>
<androidx.coordinatorlayout.widget.CoordinatorLayout xmlns:android="http://schemas.android.com/apk/res/android"
    xmlns:app="http://schemas.android.com/apk/res-auto"
    xmlns:tools="http://schemas.android.com/tools"
    android:layout_width="match_parent"
    android:layout_height="match_parent"
    android:fitsSystemWindows="true"
    tools:context=".MainActivity">

    <com.google.android.material.appbar.AppBarLayout
        android:layout_width="match_parent"
        android:layout_height="wrap_content"
        android:fitsSystemWindows="true">

        <com.google.android.material.appbar.MaterialToolbar
            android:layout_width="match_parent"
            android:layout_height="wrap_content"
            app:title="@string/app_name" />
    </com.google.android.material.appbar.AppBarLayout>

    <androidx.recyclerview.widget.RecyclerView
        android:id="@+id/rv_list"
        android:layout_width="match_parent"
        android:layout_height="wrap_content"
        android:clipToPadding="false"
        android:padding="12dp"
      app:layout_behavior="com.google.android.material.appbar.AppBarLayout$ScrollingViewBehavior" />
</androidx.coordinatorlayout.widget.CoordinatorLayout>
RecyclerView Item Layout
Before creating an adapter, you must have the Recycler View item layout. Right-click on the layout folder, and create a new rv_list_item.xml file. Paste the following code into the newly created layout file.
<?xml version="1.0" encoding="utf-8"?>
<com.google.android.material.card.MaterialCardView xmlns:android="http://schemas.android.com/apk/res/android"
    style="@style/Widget.Material3.CardView.Filled"
    android:layout_width="match_parent"
    android:layout_height="wrap_content"
    android:layout_margin="4dp">

    <TextView
        android:id="@+id/rv_text"
        android:layout_width="match_parent"
        android:layout_height="wrap_content"
        android:padding="16dp"
        android:text="NotesJam"
        android:textAppearance="?attr/textAppearanceHeadlineMedium" />
</com.google.android.material.card.MaterialCardView>
RecyclerView Adapter
To use the RecyclerView in your code, you need to create an adapter class that will handle the data that is to be displayed in the list.
The adapter class will act as a bridge between the RecyclerView and the data. It will determine the number of items to be displayed, the layout of each item, and the data that is to be displayed in each item.
Create a new class RVAdapter.kt. Paste the following code into the adapter class.
package com.example.recyclerviewdemo

import android.view.LayoutInflater
import android.view.View
import android.view.ViewGroup
import android.widget.AdapterView.OnItemClickListener
import android.widget.TextView
import androidx.recyclerview.widget.RecyclerView

class RVAdapter(private val data: List<String>, private var listener: OnItemClickListener) :
    RecyclerView.Adapter<RVAdapter.ViewHolder>() {

    inner class ViewHolder(itemView: View) : RecyclerView.ViewHolder(itemView) {
        private val textView: TextView = itemView.findViewById(R.id.rv_text)

        fun bindItem(item: String) {
            textView.text = item
            itemView.setOnClickListener {
                listener.onItemClick(item)
            }
        }
    }

    override fun onCreateViewHolder(parent: ViewGroup, viewType: Int): ViewHolder {
        val view = LayoutInflater.from(parent.context)
            .inflate(R.layout.rv_list_item, parent, false)
        return ViewHolder(view)
    }

    override fun onBindViewHolder(holder: ViewHolder, position: Int) {
        holder.bindItem(data[position])
    }

    override fun getItemCount(): Int {
        return data.size
    }

    interface OnItemClickListener {
        fun onItemClick(item: String)
    }
}
In the above code, we have created a ViewHolder class that will be used to hold the data for each item in the list. The onCreateViewHolder() method is called when a new item needs to be displayed in the list. It is responsible for inflating the layout of the item.
The onBindViewHolder() method is called when the data for an item needs to be displayed in the list. It is responsible for binding the data to the view holder. In this method, we set the text of the TextView in the ViewHolder to the data that needs to be displayed for the current item.
Finally, the getItemCount() method returns the total number of items that need to be displayed in the list.
Display Data in RecyclerView
Once you have created the adapter class, you can use it in your activity to display the data in the RecyclerView. Here is an example of how to do this.
Go to app > java > com.example.recyclerviewdemo > MainActivity.kt and paste the following code.
package com.example.recyclerviewdemo

import androidx.appcompat.app.AppCompatActivity
import android.os.Bundle
import android.widget.Toast
import androidx.recyclerview.widget.LinearLayoutManager
import androidx.recyclerview.widget.RecyclerView

class MainActivity : AppCompatActivity(), RVAdapter.OnItemClickListener {
    private lateinit var rvList: RecyclerView
    override fun onCreate(savedInstanceState: Bundle?) {
        super.onCreate(savedInstanceState)
        setContentView(R.layout.activity_main)
        rvList = findViewById(R.id.rv_list)

        val data = listOf(
            "Android",
            "Python",
            "Kotlin",
            "Java",
            "Data Structure",
            "Algorithm",
            "Machine Learning",
            "Data Science"
        )

        rvList.layoutManager = LinearLayoutManager(this)
        rvList.adapter = RVAdapter(data, this)
    }

    override fun onItemClick(item: String) {
        Toast.makeText(this, item, Toast.LENGTH_SHORT).show()
    }
}
In the above code, we set the layout manager of the RecyclerView to a LinearLayoutManager and set the adapter to the RecyclerViewAdapter that we created earlier. The LinearLayoutManager is responsible for positioning the items in the list vertically.
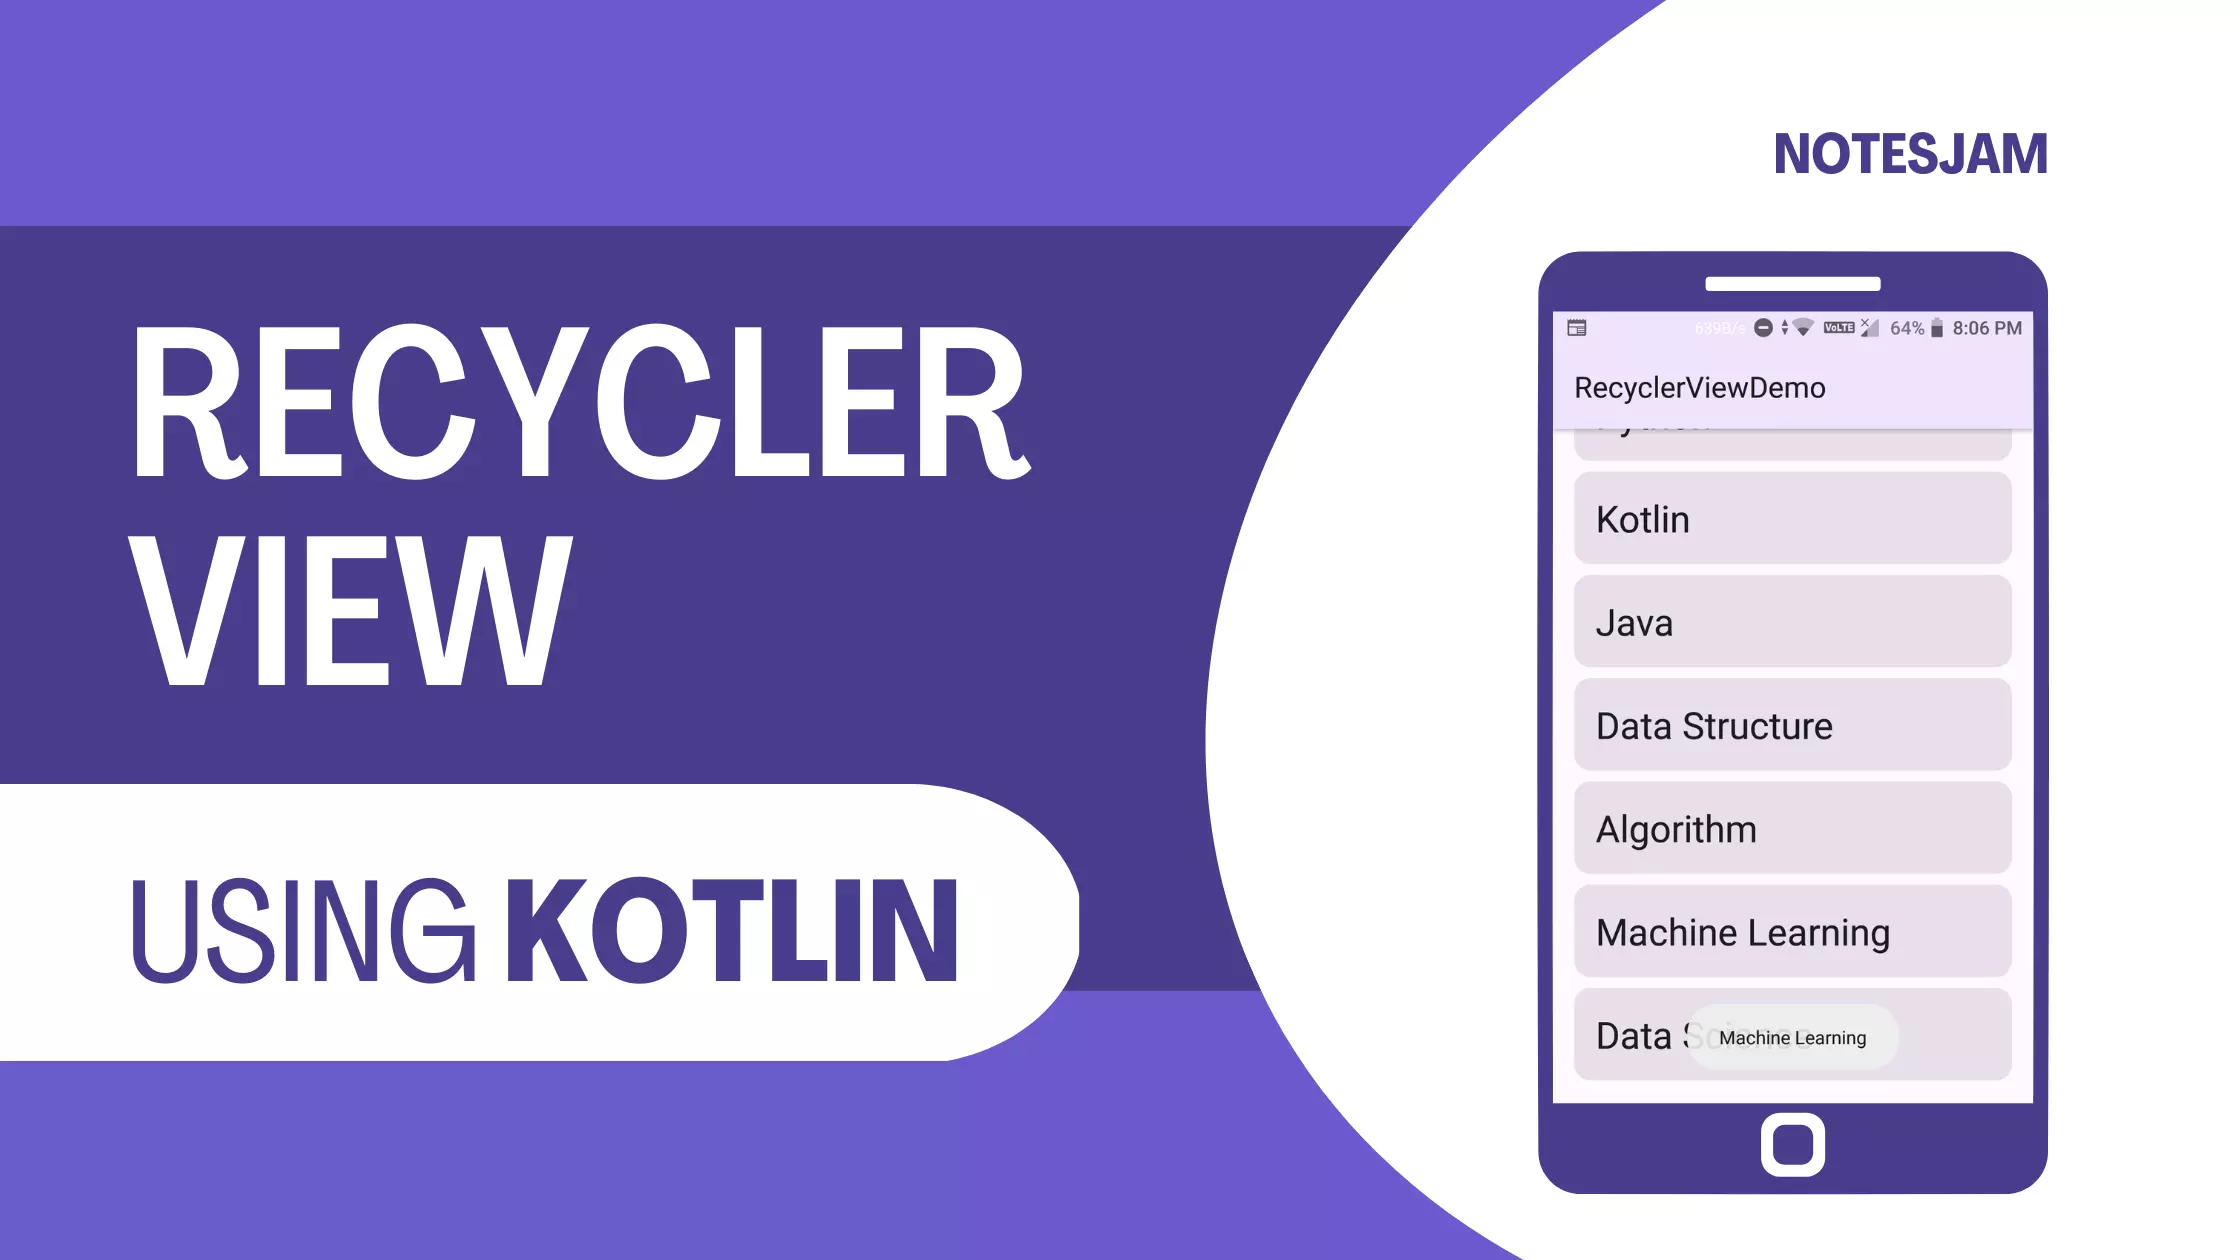
Testing Your App
Here is the final output. Launch the app. Click on any item.

With these simple steps, you can create a RecyclerView in your Android app using Kotlin programming language. The RecyclerView is a powerful and flexible tool that can be used to display a large number of items efficiently.
I hope this article helps you understand how to use RecyclerView in Android using Kotlin.
So, go ahead and try it out today!